


In this Khoya Recipe, or Mawa Recipe, you will learn to make perfect Khoya at home with milk. Khoya/Mawa or Khowa is a dairy product made from milk and used to make Indian sweets and desserts. To make Mawa or khoya, the milk, we slowly simmer milk over a low flame for several hours until it thickens into milk solids. This khoya or mawa recipe will show you how to make this creamy, rich, and sweet with just 1 ingredient – milk.
Khoya or mawa is used as a basic ingredient in many traditional sweets such as Gulab Jamun, Burfi, Peda, Rasgulla, Gujiya, Ice creams, and many more. Khoya adds a rich and creamy flavor to any dessert. It enhances the taste of any sweet. I usually use it in many of my recipes.
Uses of Khoya/Mawa
Mawa or Khoya is a very versatile ingredient that is used to add richness, flavor, and texture to dishes in India.
Sweets and desserts: Mawa is a key ingredient in a wide range of traditional Indian sweets and desserts, such as Mawa Modak, Mawa Gujiya, Gulab Jamun, Malai Kulfi, and Gajar halwa.
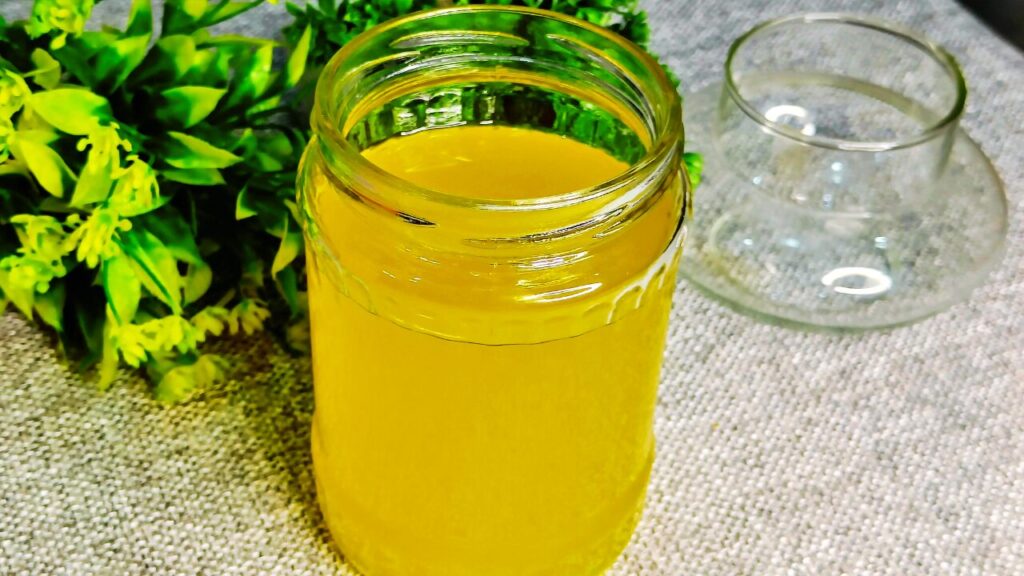
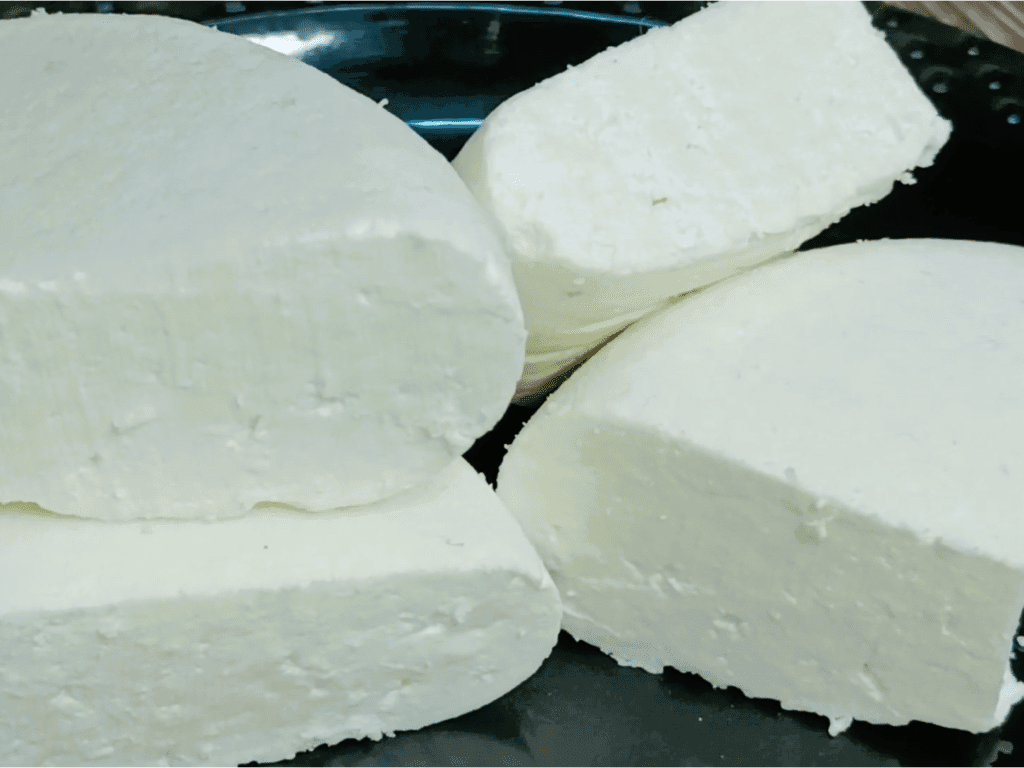
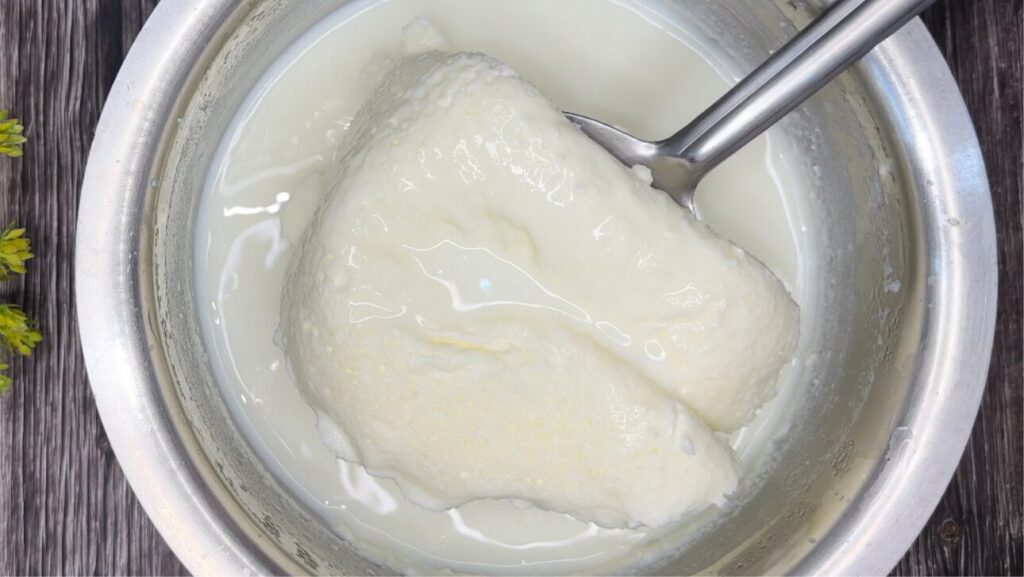
Also, check out other Homemade Recipes like White Butter, Hung Curd(Greek Yogurt), Sweetened Condensed Milk, Homemade Curd/Dahi, Paneer, and Ghee.
Curry and gravy: Mawa can also be added to curries and gravies to thicken the sauce and add a rich, creamy texture and flavor to the dish.
Snacks and appetizers: Mawa can also be used in certain savory snacks and appetizers, such as kachoris, to add a creamy, rich filling.
Please rate and leave a comment or feedback if you like the recipe. Also, subscribe to the Recipe Newsletter. Follow Aayansh Kitchen on Facebook, X, Instagram, Pinterest, WhatsApp, and YouTube. Thank You.
Mawa/Khoya Recipe Video
Ingredients to make Mawa/Khoya
This Mawa or Khoya recipe uses just a single ingredient – full-fat milk.
- 1.5-liter full-fat milk
How to make Mawa or Khoya at Home
1. To make Mawa/Khoya at home, take a little water in a Kadai, then add milk. Here, I’m using 1.5 liters of full-fat milk.
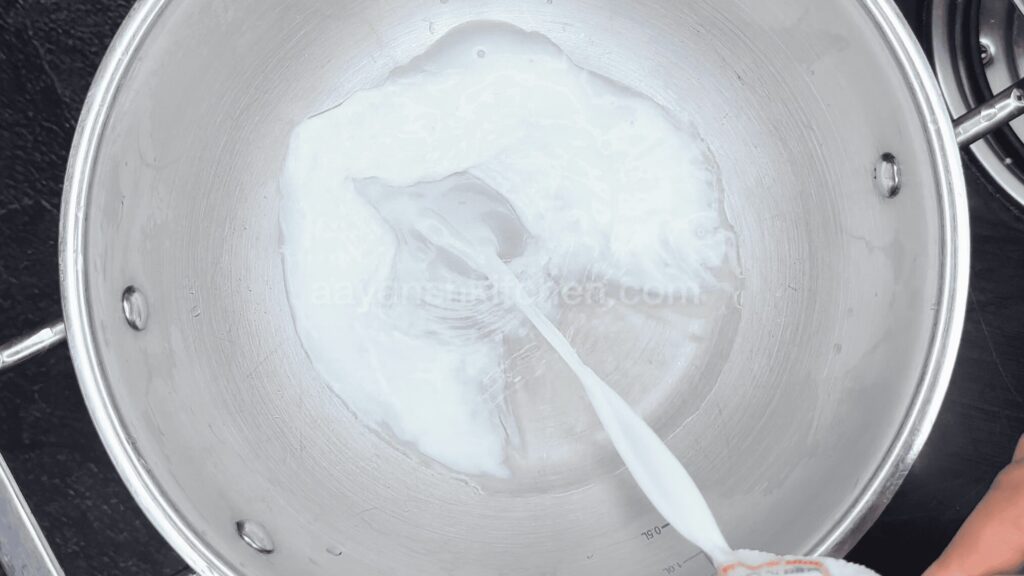
2. Now, wait until the milk comes to a boil on a high flame. Stir the milk in between.
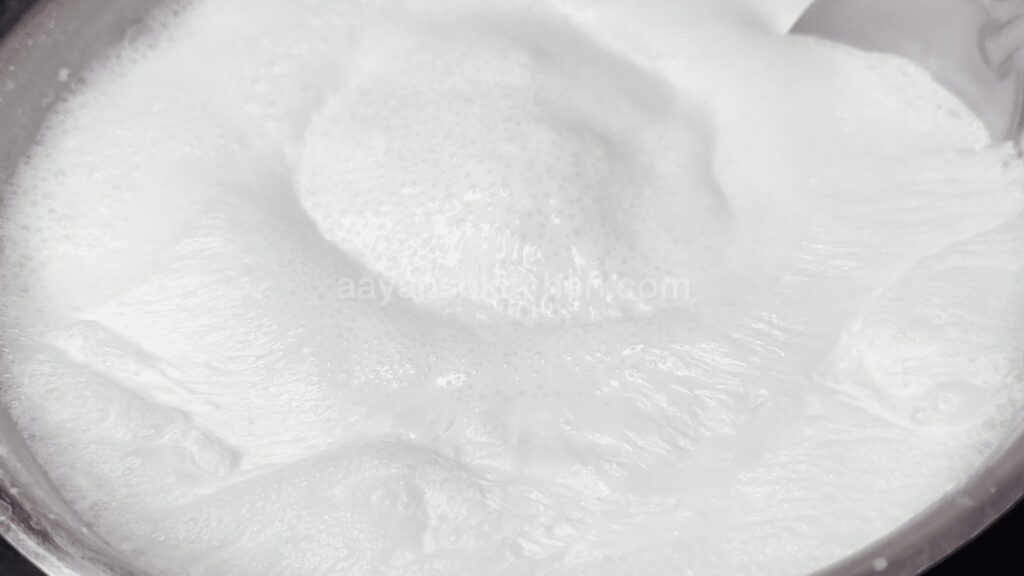
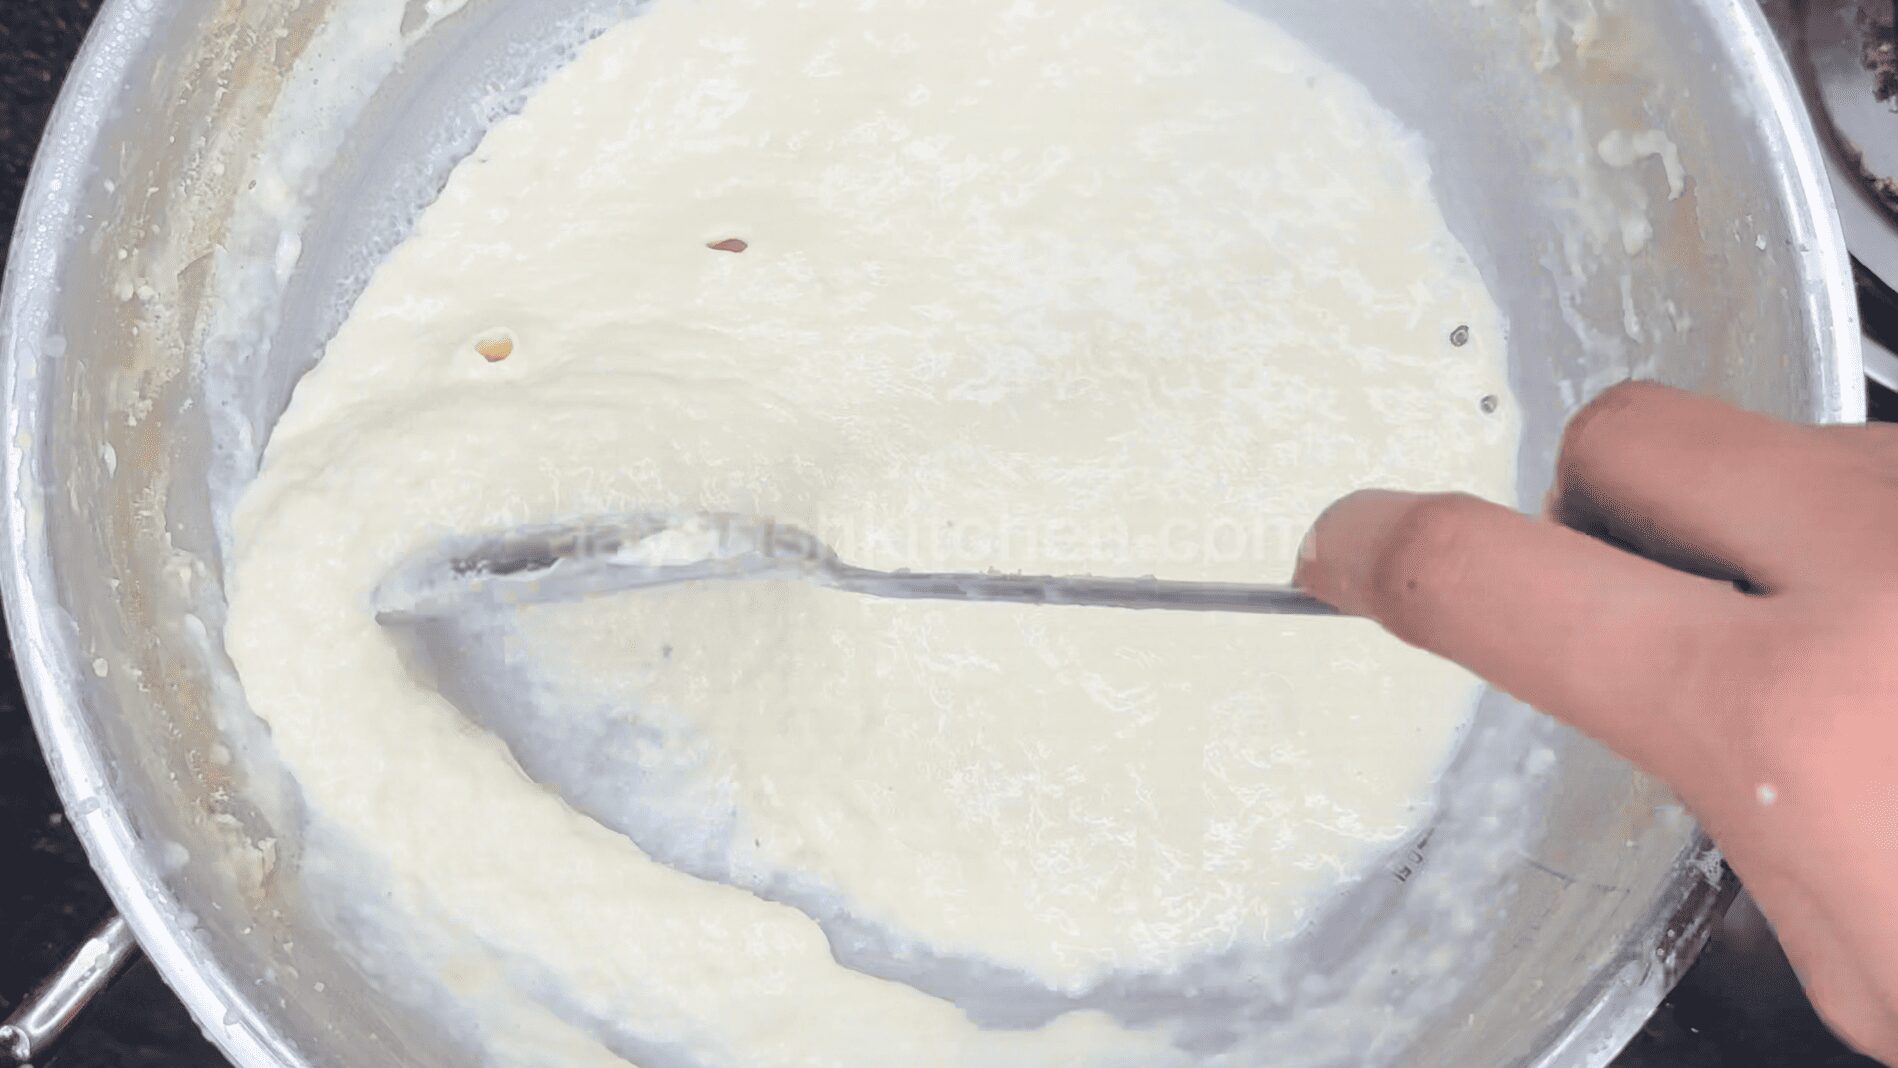
3. Now, once the milk comes to a boil, reduce the flame to medium, continue stirring continuously with occasional breaks, and let the milk thicken.
4. Once the milk thickens further, you need to stir continuously without interruption, or the milk may become stuck and burn. Also, scrape the malai that gets deposited on the sides and add it back to the mixture.
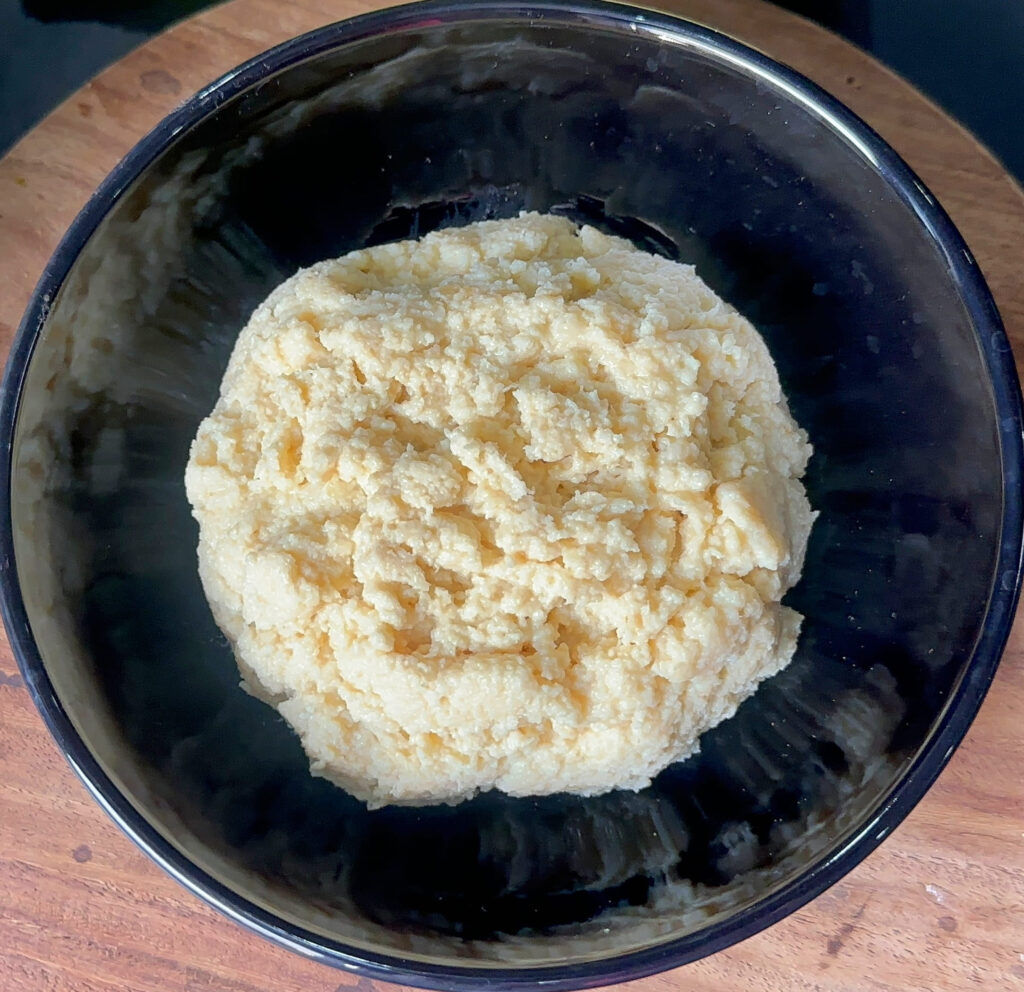
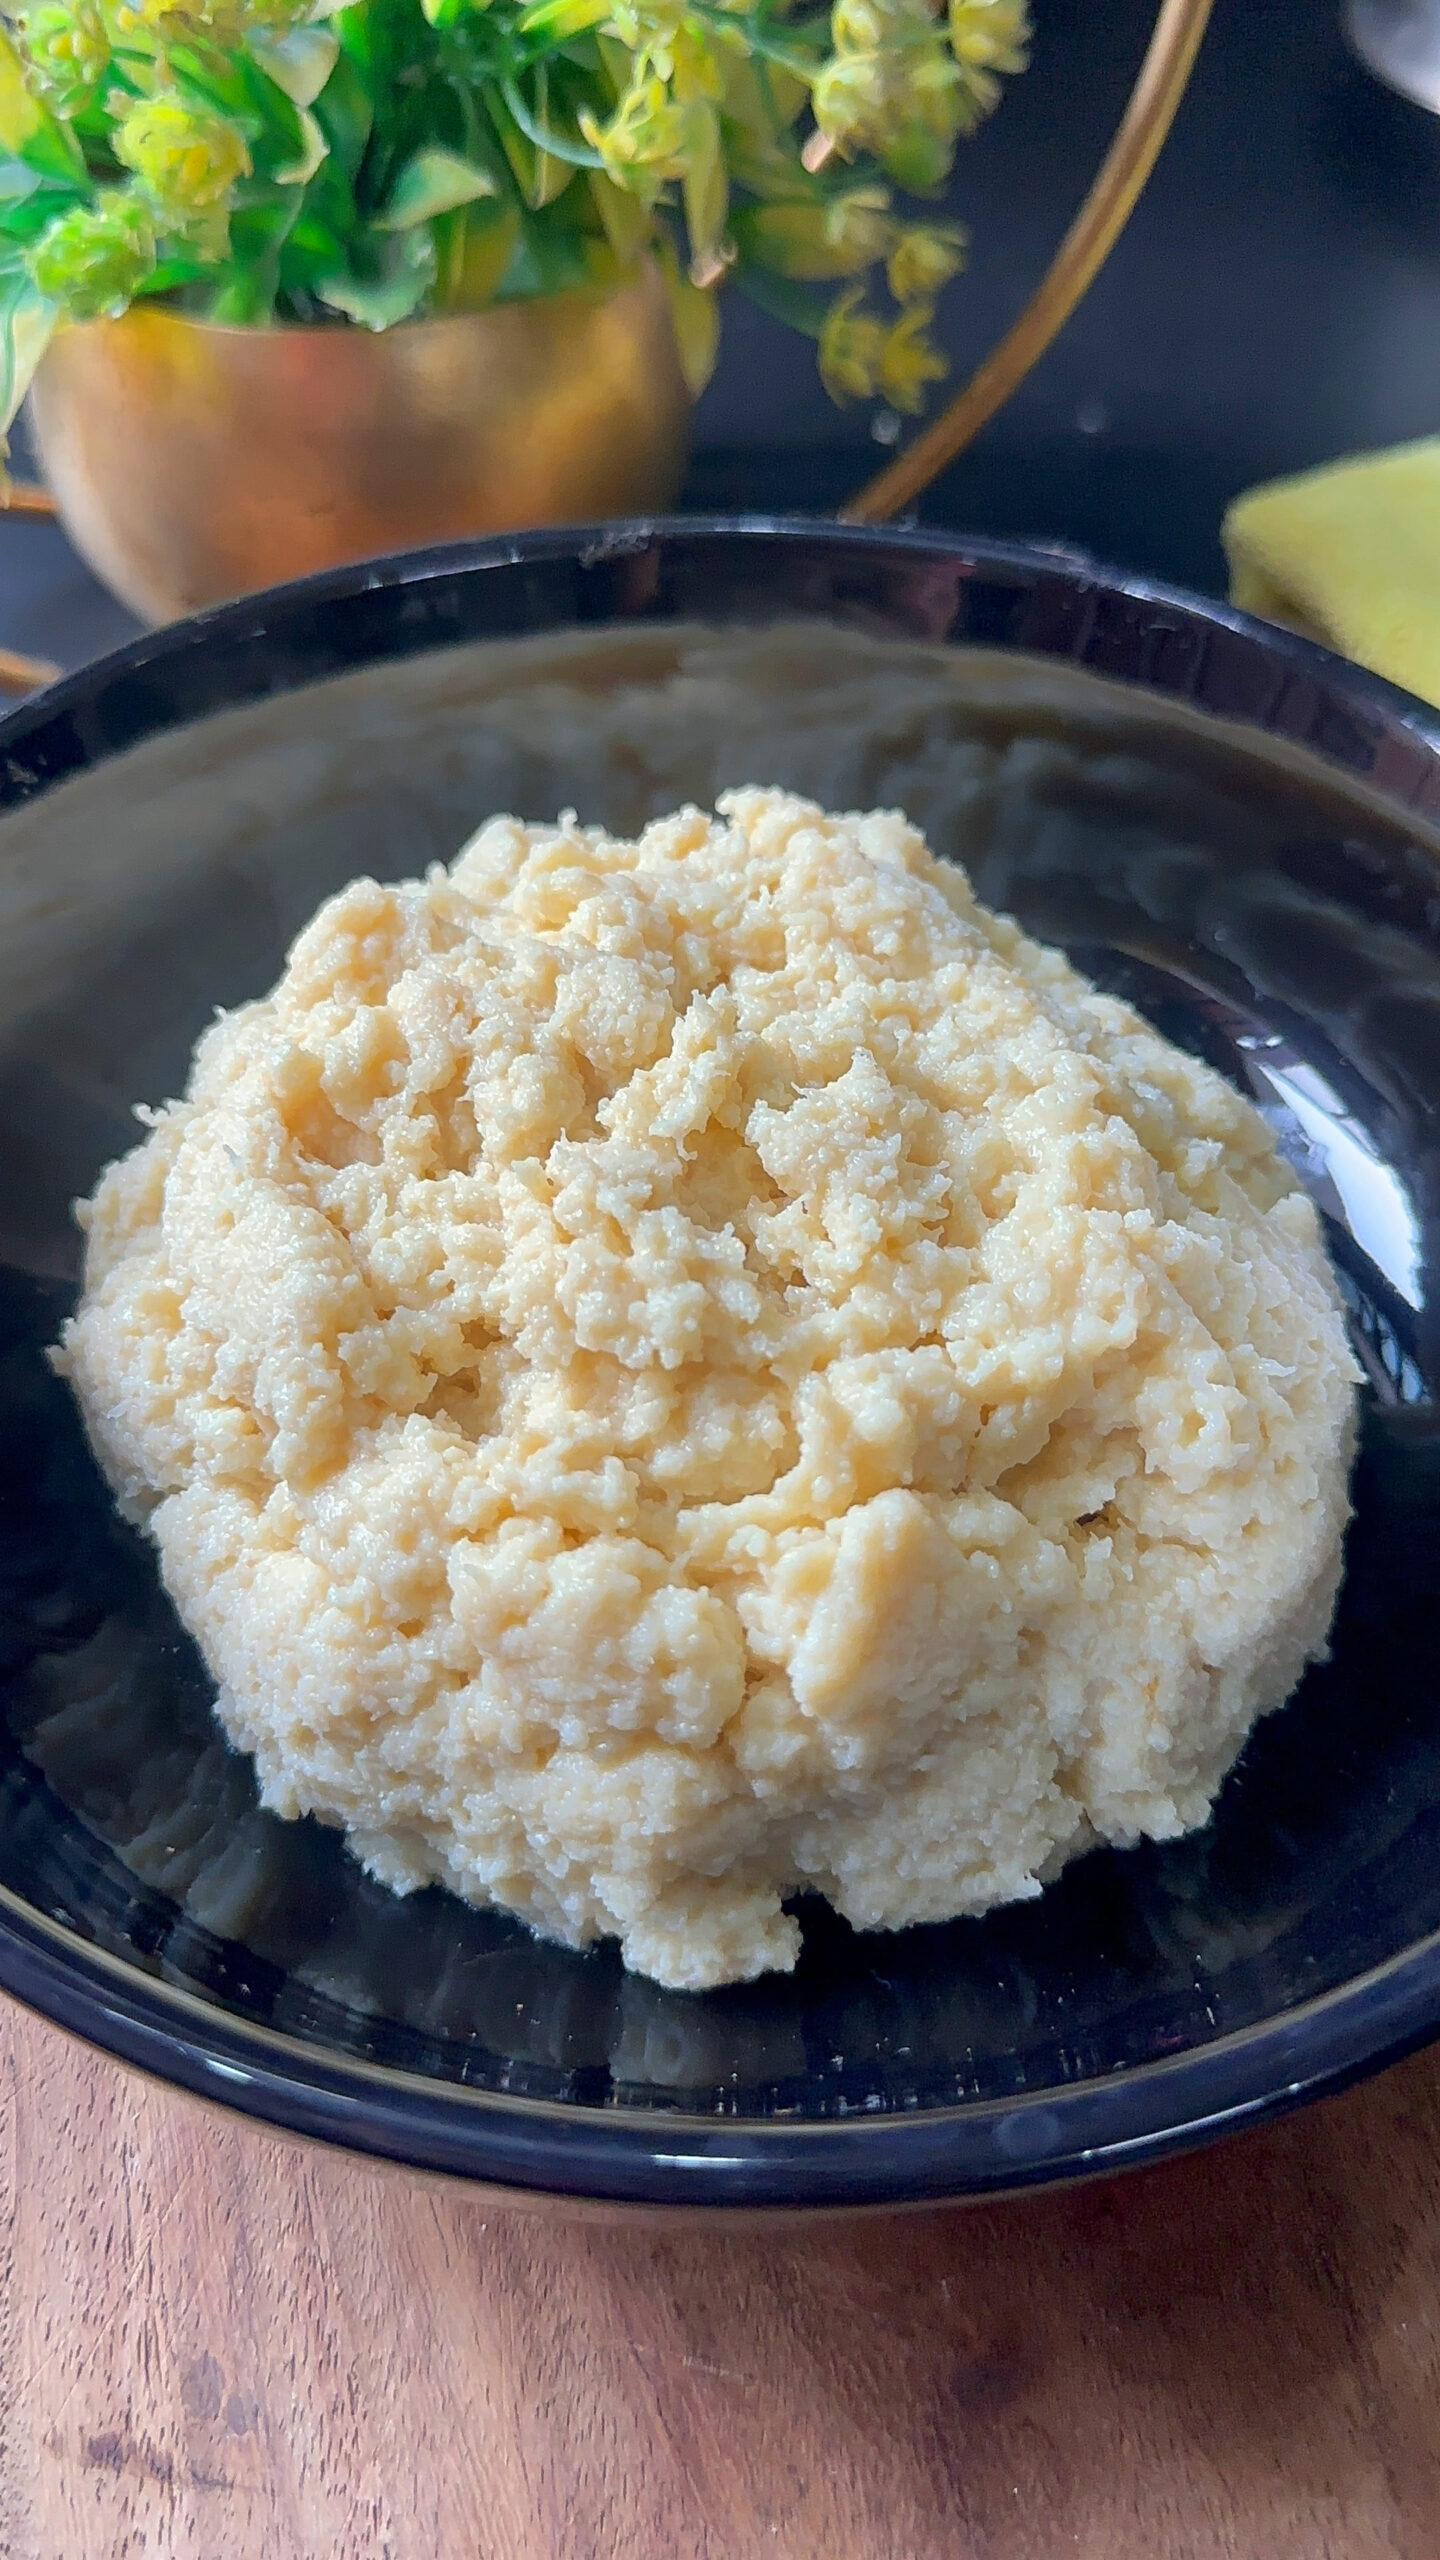
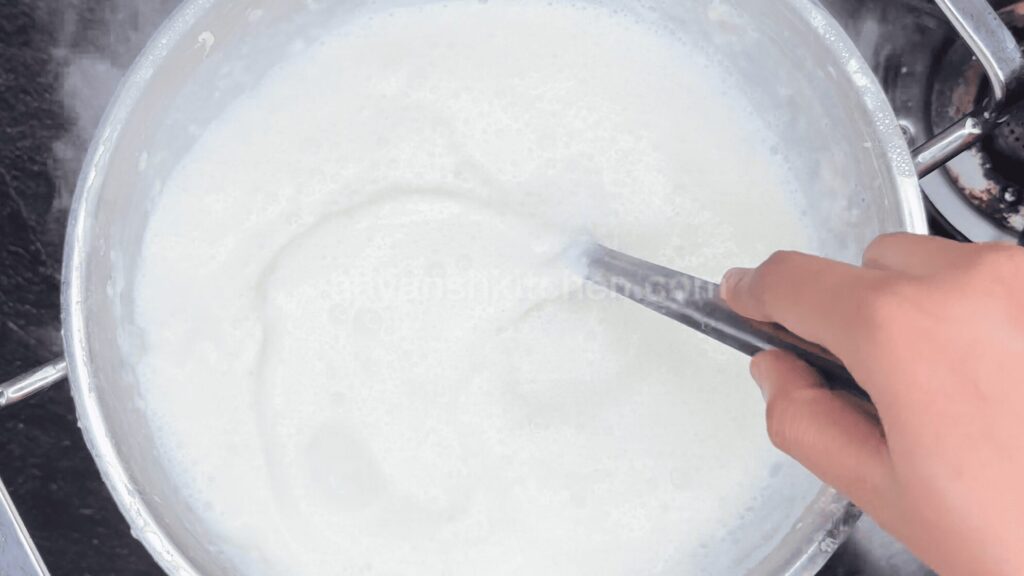
5. The mixture will thicken and decrease in volume. You can see that it will start getting the Rabri-like texture.
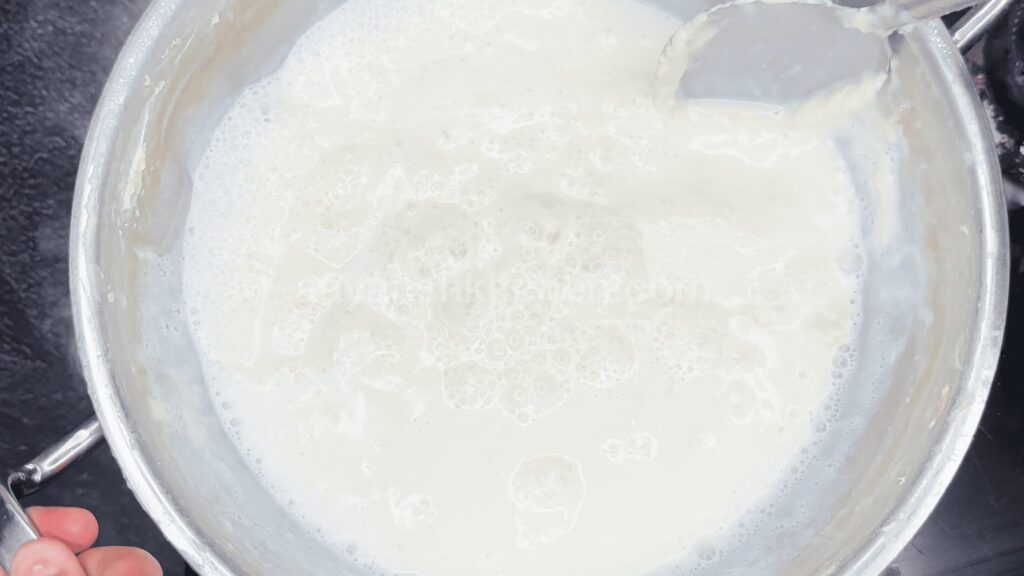
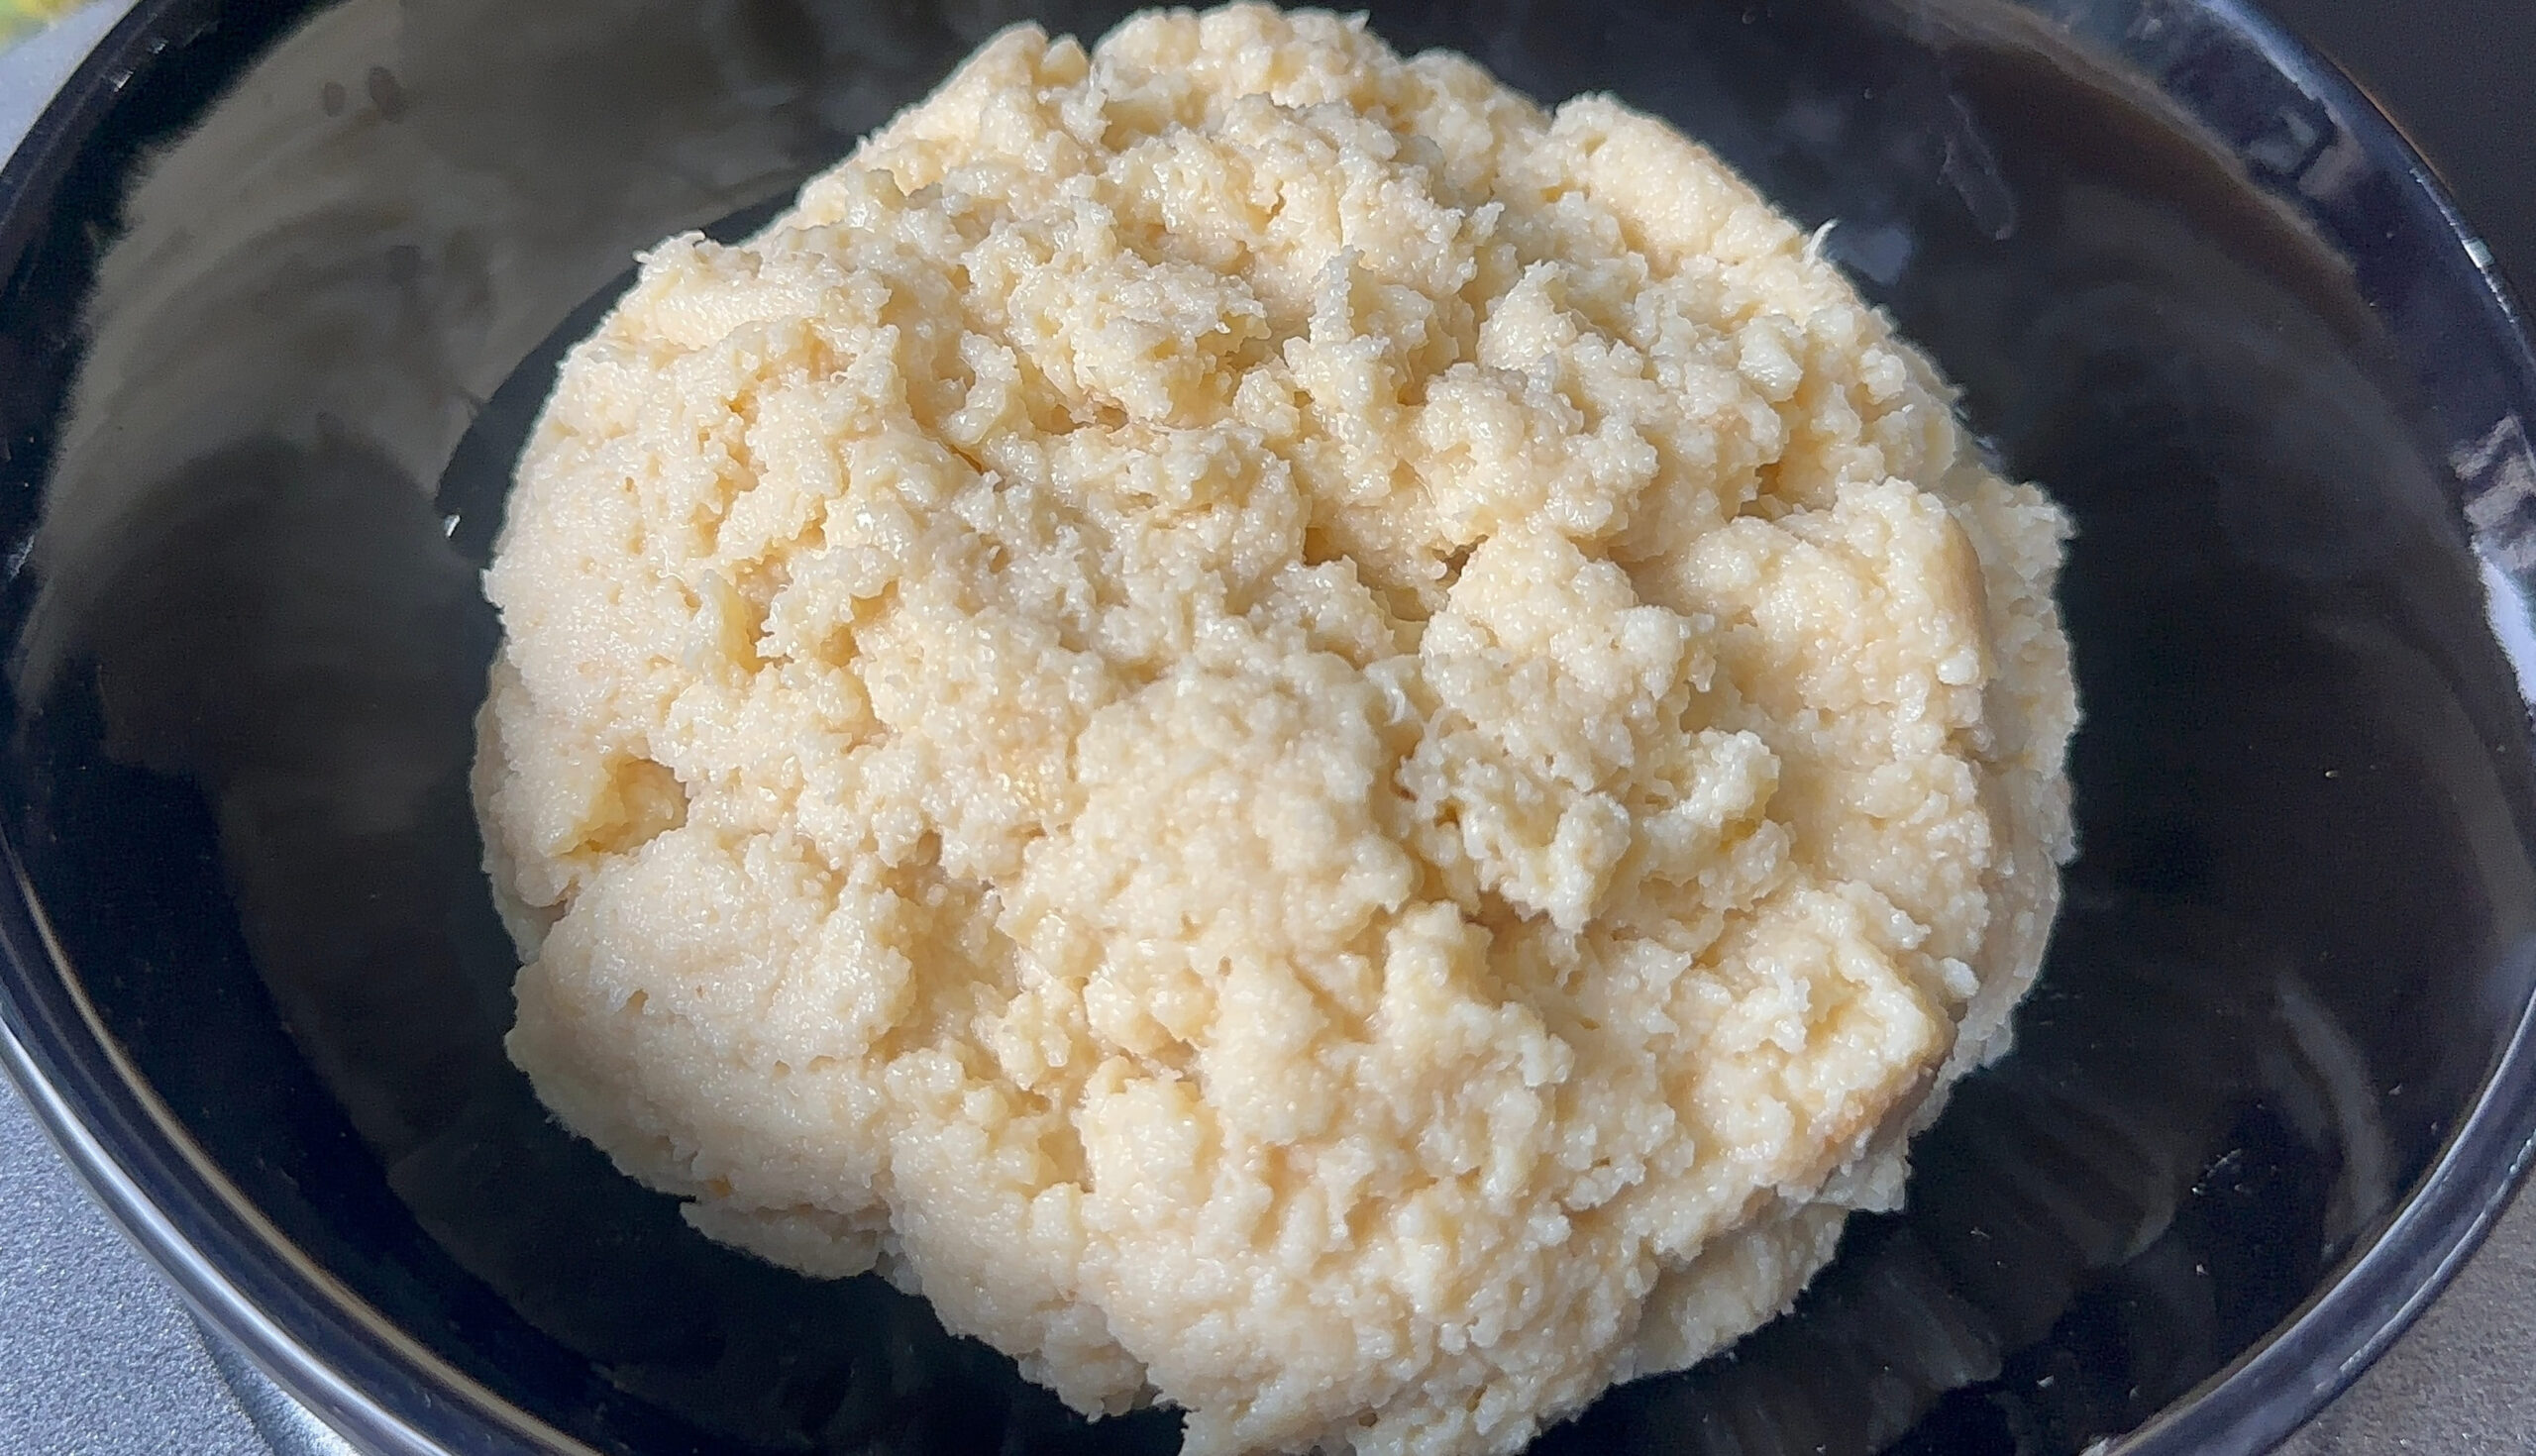
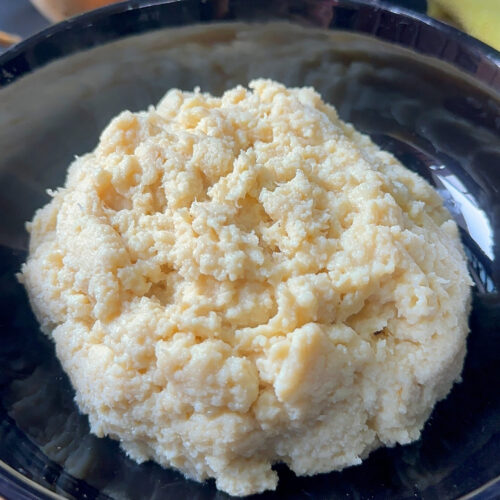
6. As you can see, the mixture has thickened and has a nice creamy texture. The Mawa is ready now. It took almost 45 minutes to get the milk to this consistency. At first, it may look wet, but as soon as it cools down, it will dry.
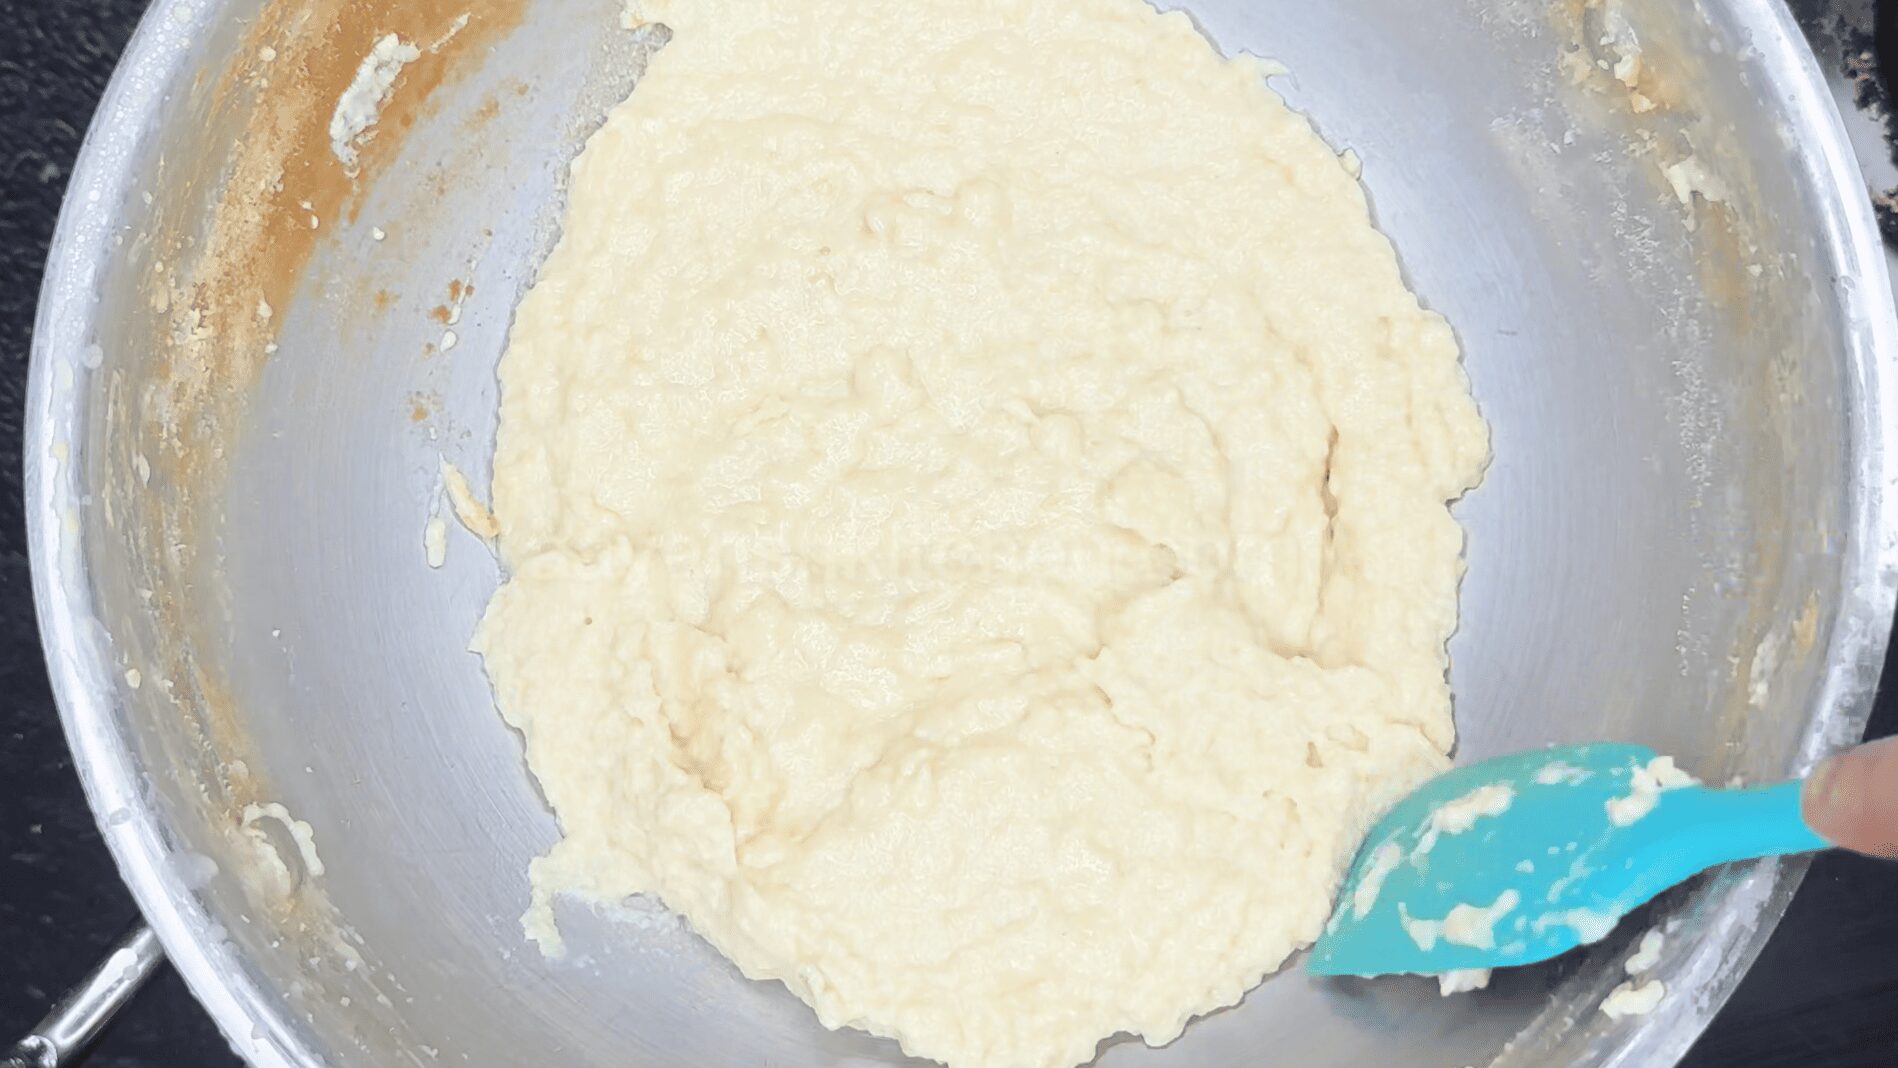
7. As you can see now, it has dried down a bit and has the perfect texture and consistency.
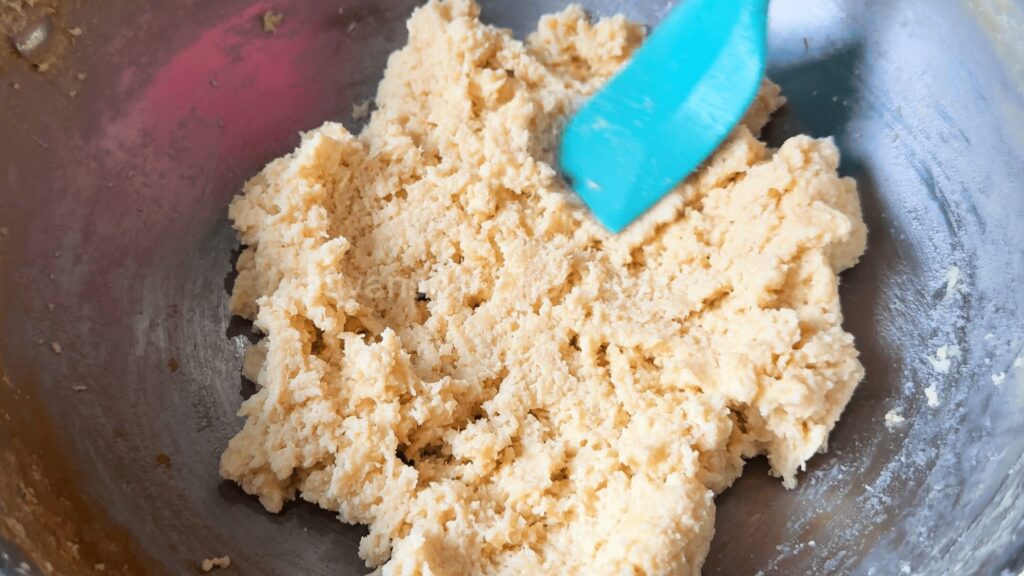
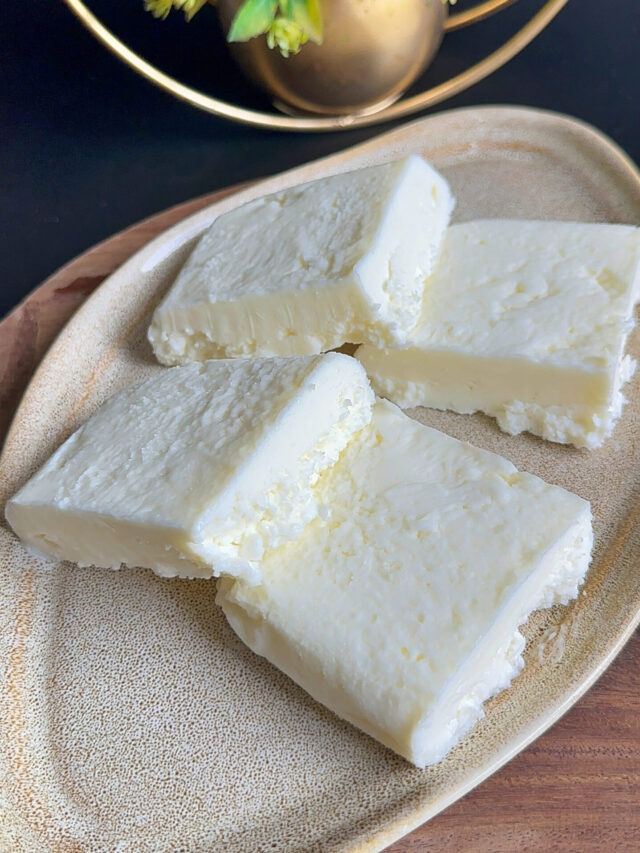
8. The Mawa/Khoya is ready now to make some delicious sweets.
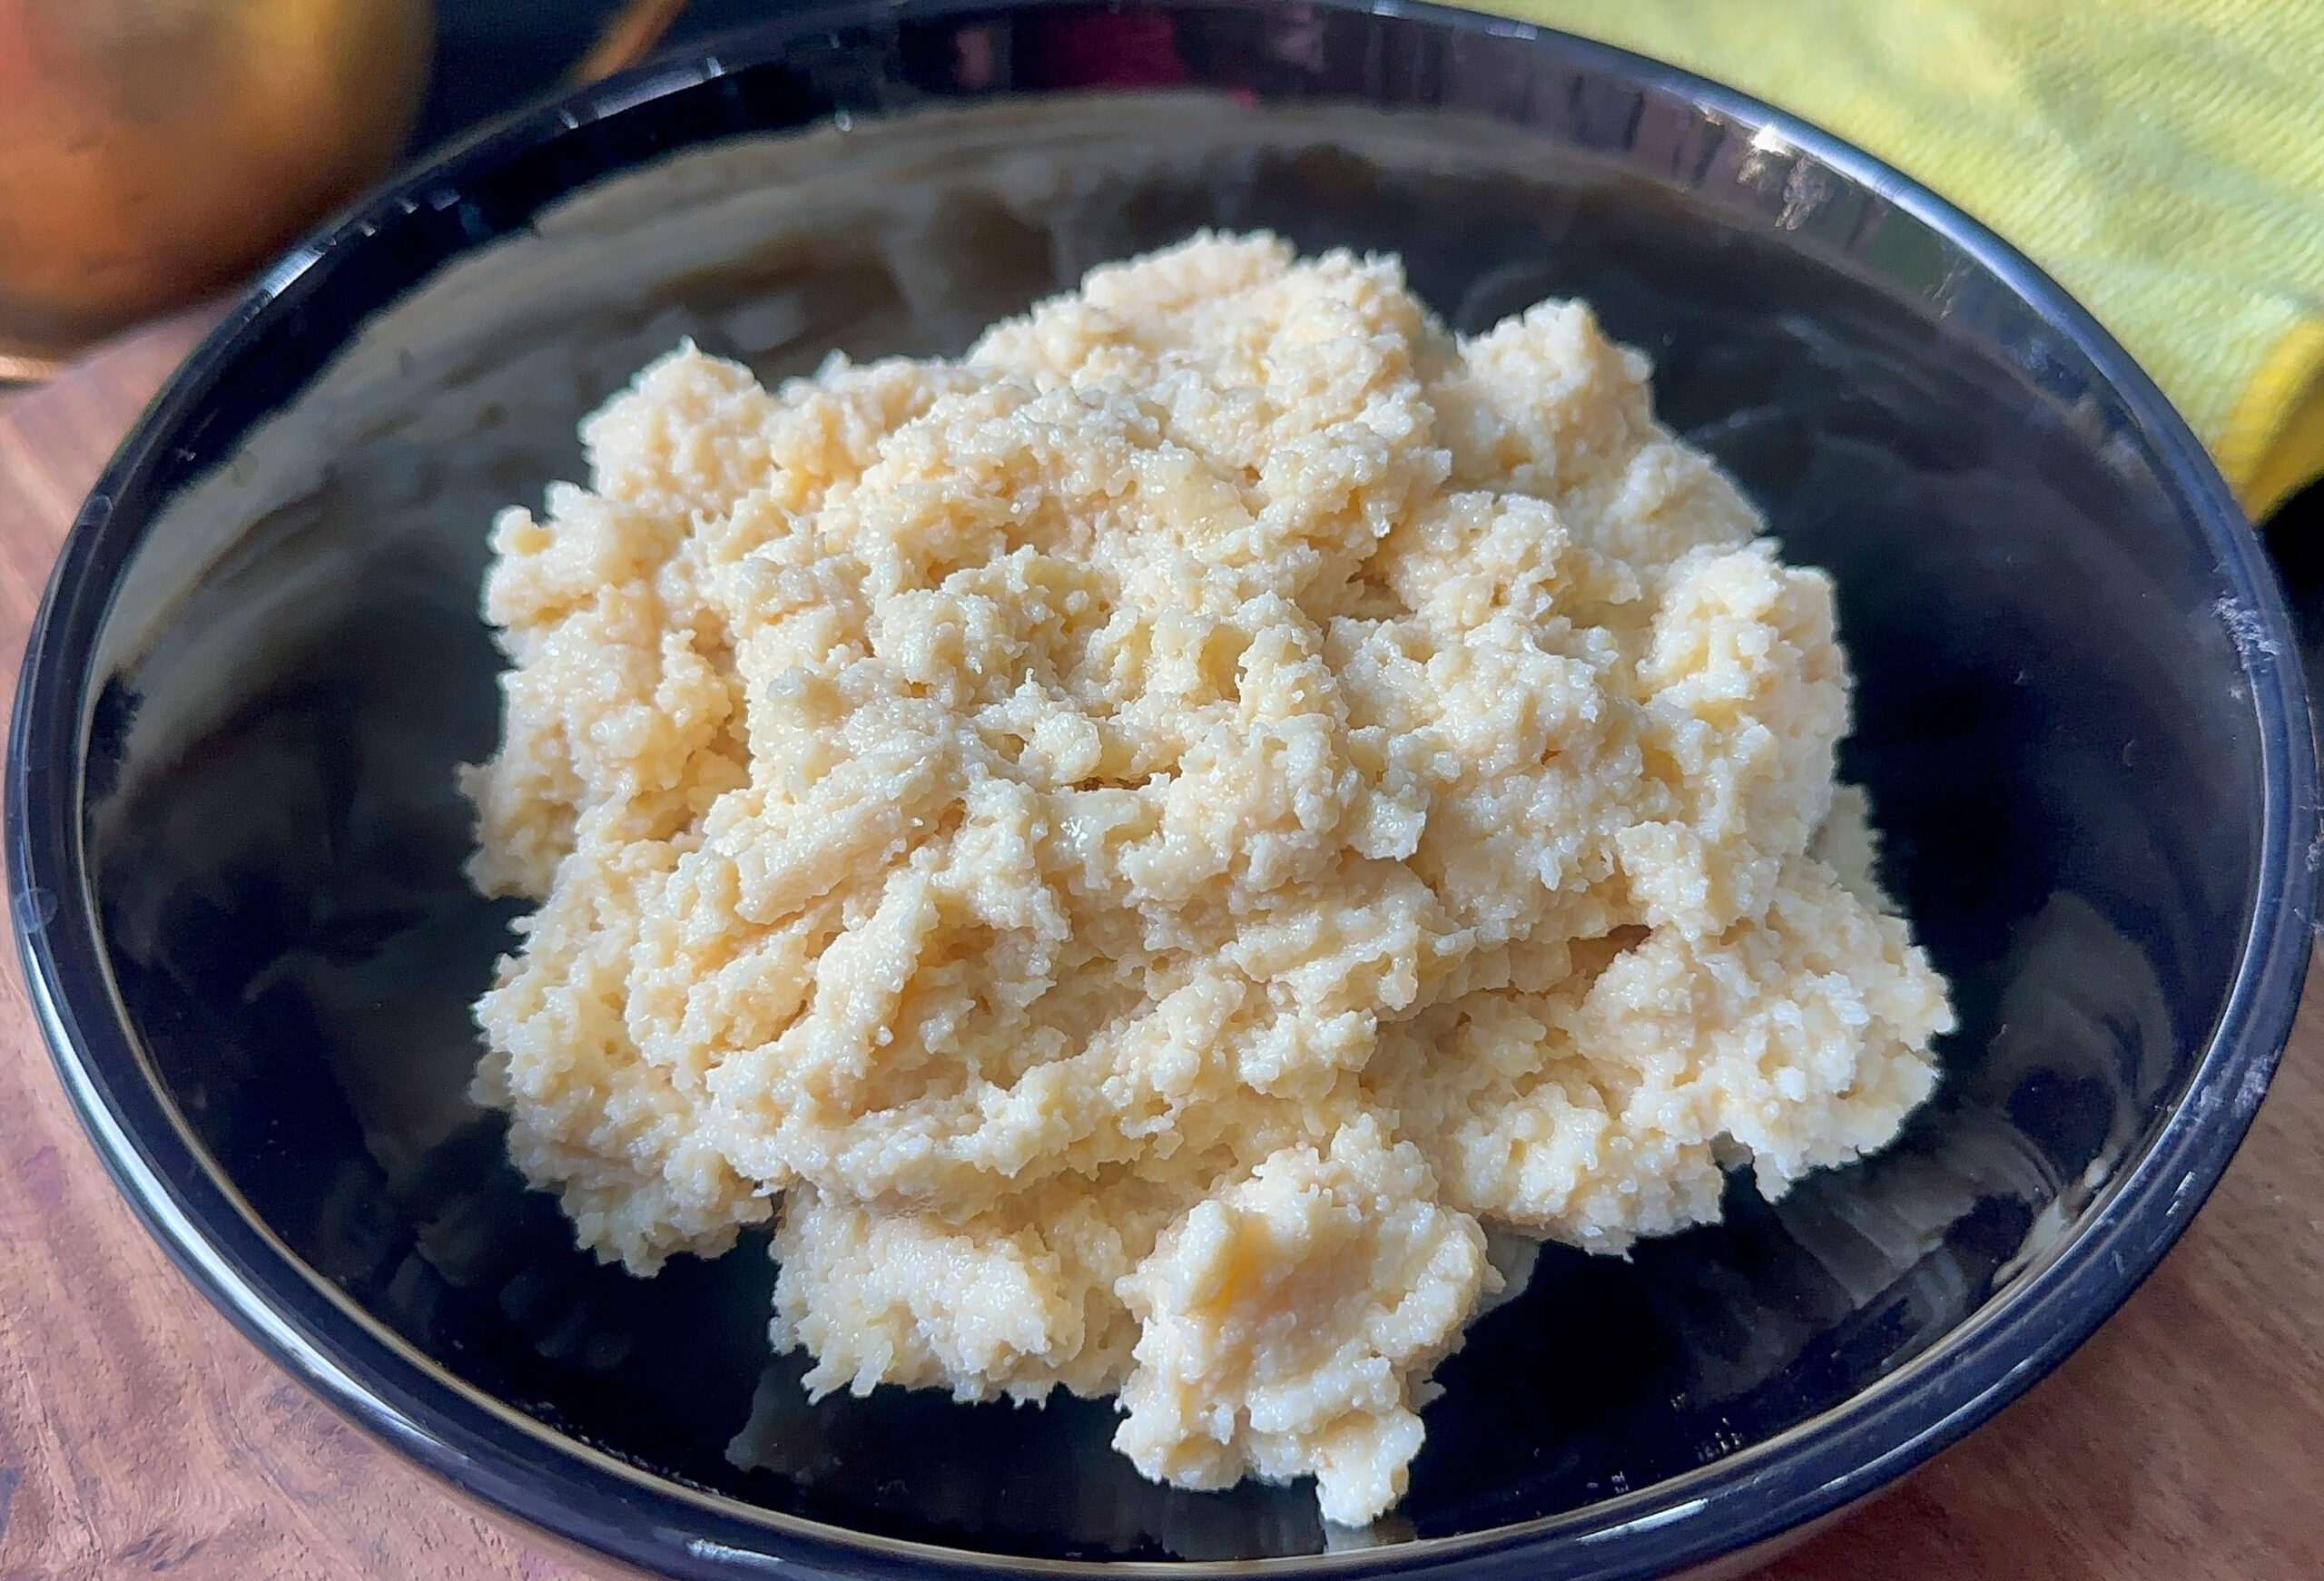
After the khoya cools down, you can use it immediately or store it in an airtight container in the refrigerator for up to a week to make your favorite sweet dishes. Enjoy.
Homemade Mawa vs Store-bought Mawa
Homemade mawa or khoya is fresher and has a richer flavor compared to store-bought khoya, as it is made with only milk and does not contain preservatives. So, it gives the sweets a richer flavor and taste.
Store-bought khoya may contain sugar or cornstarch to enhance the flavor, and may also have preservatives. It may not have the same freshness or richness as homemade khoya.
However, making khoya at home can be time-consuming and requires constant attention and stirring, which can be a challenge for some. Store-bought khoya is a convenient option for those who may not have the time or expertise to make it from scratch.
Ultimately, the choice between homemade and store-bought khoya depends on personal preference and the availability of ingredients and time.
Recipe Card
Instant Mawa or Khoya Recipe
Ingredients
- 1.5 liter milk full fat
Instructions
- To make Mawa/Khoya at home, take a little water in a Kadai, then add milk. Here, I’m using 1.5 liters of full-fat milk.
- Now, wait until the milk comes to a boil on a high flame. Stir the milk in between.
- Now, once the milk comes to a boil, change the flame to medium, keep stirring continuously with small breaks in between, and let the milk thicken.
- Once the milk thickens more and more, you need to stir continuously without any break, or the milk may get stuck and burn. Also, scrape the malai that gets deposited on the sides and add it back to the mixture.
- The mixture will get thicker and reduce in quantity. You can see that it will start getting the Rabri-like texture.
- As you can see, the mixture has thickened and has a nice creamy texture. The Mawa is ready now. It took almost 45 minutes to get the milk to this consistency. At first, it may look wet, but as soon as it cools down, it will dry.
- As you can see now, it has dried down a bit and has the perfect texture and consistency.
- The Mawa/Khoya is ready now to make some delicious sweets.
- After the khoya cools down, you can use it immediately or store it in an airtight container in the refrigerator for up to a week to make your favorite sweet dishes. Enjoy.